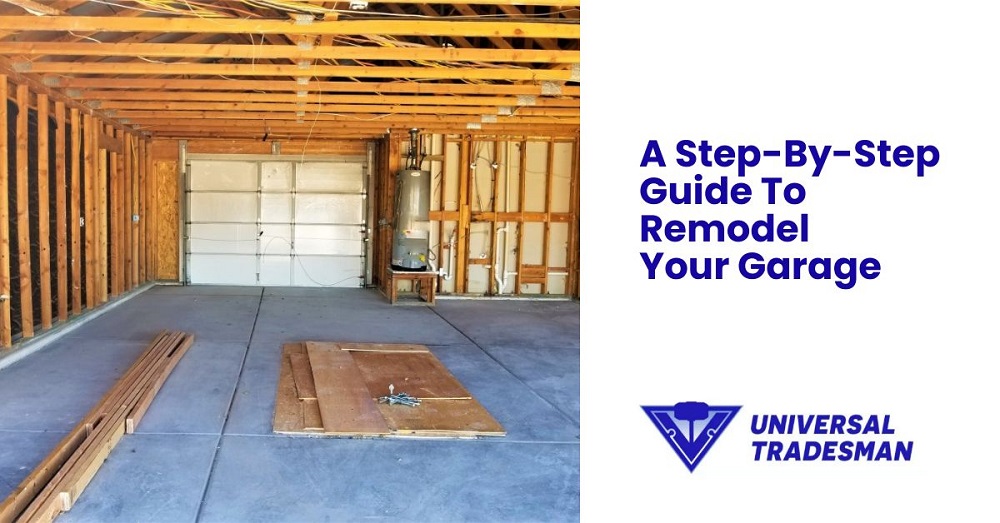
Garage renovations are remarkable ways to improve your property value. Another trend that is growing in popularity is converting a garage into a self-contained unit to accommodate a growing family or create a home office. These are options are worth considering if you want to increase the curb appeal without taking a new construction project. Take a look at the necessary steps to renovate an old garage into an aesthetically pleasing space.
Garage Clean-Up and Preparations
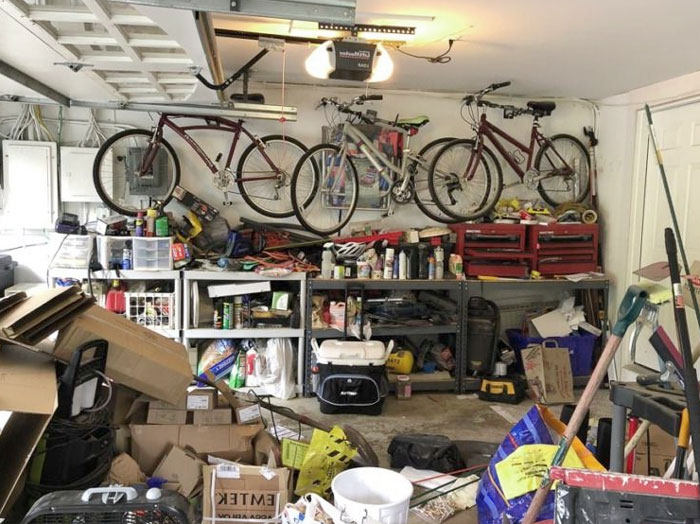
During a garage makeover, it is important to highlight items that are no longer in use and toss them. Some tools which are still in good shape can be donated or sold, while others are best rolled off to the dumpster. With junk out of the way, start prepping for the upgrades. The prep work may also include replacing floor cover plates and old drain caps Because you will need to paint the walls and the ceilings, it is good to clean them first. Many times, these parts of the garage are left unfinished, attracting more dirt than any other part of a home. Because of the accumulated debris and dust, it is not uncommon to have oil stains and water damage in the garage. Use a broom and vacuum if need be. Once the majority of the dust is out of the way, clean the walls with soapy water but avoid harsh chemicals as they can damage the walls. Make sure that the walls and ceiling are completely dry before moving to the next step. Pay close attention to any leaks on the walls and ceiling to ensure that they’re repaired before painting or plastering.
Like any other remodeling project, you should prep the garage for floor coating to improve the efficiency of the finished parts. If you need to repair the slab, make sure it has a thick perimeter. It might be necessary to add a course of block to the slab as it will keep the door frame at a higher position. Alternatively, lay several courses of blocks on the frost footings and rest the slab edges on the blocks. While this requires more input, it is worth the effort and lasts longer. Note that some slabs require waterproofing around the external to prevent water from seeping into the edges.
Framework
If your garage is rough-framed, it may not be ready for drywall. Check for missing blocking and the framework to see if support is required before lifting the drywall. Also, find out if the studs are missing at the corners and whether attachments for drywall on the ceiling are intact. Examine carefully the corners where the ceiling meets the walls to unveil the missing elements of the framework. Other framing elements you might want to take care of include: • Window skylights • An opening to provide access to the attic • Additional blocking between studs to attach shelves • Blocking between trusses to hang bicycle hooks, cord reels, and lights
Electricals and Plumbing
Before working on the wiring or any plumb lines, the power must be turned off. Plumbing becomes paramount if you are converting the garage into a bathroom or outdoor kitchen. Demolish fixtures that are not grounded on the floor or built into the garage walls, e.g., sinks and cabinets. Always keep in mind a professional can handle the job better. On the other side, avoid DIY electrical wiring install unless you are a qualified electrician. Disconnecting wires and cables around the electrical boxes requires the expertise of a trained technician. Your unfinished garage probably has the bare minimum of lights and electrical outlets. Adding a few should be on the to-do list. Depending on the design of the old garage, you might need to reroute the wiring connected to the studs and the lower part of the ceiling frame. If need be, reroute the plastic-covered cables, door opener control wires, and phone wires. While at it, consider adding sockets and lights and make sure the wiring is inspected and approved by local building laws.
Painting
Garage renovations are not complete without proper painting. This is not the regular painting you would do when repairing a wall and it requires special considerations. As mentioned earlier, the first step to preparing garage walls and ceilings for painting is cleaning them up. Then you can figure out how to prime the surface if they are unpainted. If painted, find out what type of paint was used- oil-based or latex paint. You can easily tell this by washing the surface with mild detergent and rubbing it with alcohol. Latex paint will come off but oil-based paint remains intact.
So, why is a surface primer necessary before painting? For one, it helps to cover pores and other imperfections on the wall or wooden structures. Plus, it creates the ideal surface for the paint to rest and can block odours and stains. Preferably, prime the drywall with PVA-based primer because it offers a more durable seal on top of porous drywall. Without the primer, most of the paint soaks into the wall, producing an uneven and rough finish.
Suppose the old walls are already painted. In this case, a primer is not needed, unless there are stains on the paint. Spray oil-based primer over the stains and leave it to dry. If the stains are too many, you will need to prime the entire wall. You may use the same paint for garage walls on the ceiling. Note that latex paint dries quickly and produces less odour; since it is water-based, you can thin it with water and not a paint thinner. However, oil-based paint takes more time to dry, has a strong smell, and requires a paint thinner.
No matter what paint you use, ensure proper ventilation by opening the doors and windows to avoid risking your health. Don’t forget to let it dry before adding another coat- you don’t need to complete the garage painting in a day. To eliminate the drips on the floor, use a damp rag while the paint is still wet. If you are not painting the windows cover them with painter’s tape as well as the power outlets and switches. Gently remove the tape once the paint dries up. For the garage floor, seal with epoxy coating and use paint that is specially designed for cemented floors.
To redecorate the garage walls and ceiling, enhance the construction with insulation and waterproofing colours. Depending on the purpose for remodeling your garage the décor may vary. Patterns on the wall, for instance, are good for hiding flaws and wires.
Insulation and Caulking
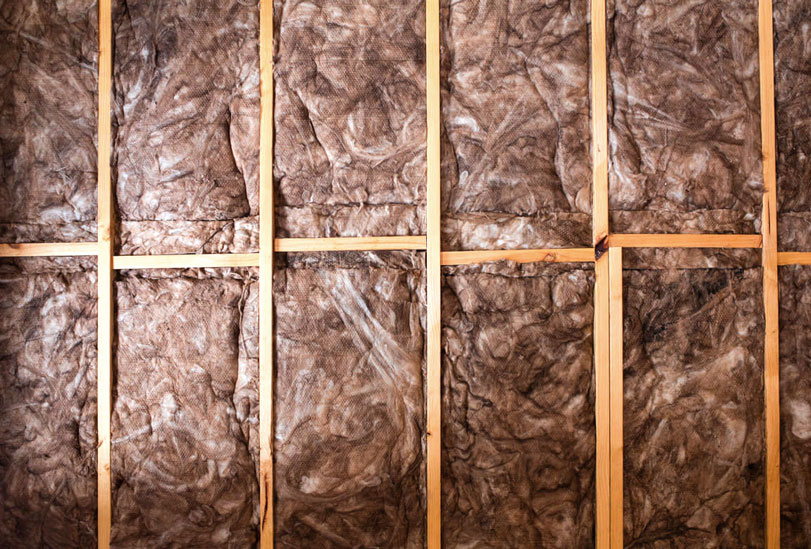
A properly insulated garage stays warmer in winter and cooler in summer. First, insulate the attic and figure out how many vents are in the attic and the roof. Create effective ventilation by adding vent chutes between the trusses. The vent chutes feature a channel that keeps blown insulation from impending air circulation between the attic and soffit vents. It would be best to install fiberglass insulation or wood blocking on the surface beneath the vent to stop the wind from blowing through the insulation. When insulating the walls, create airtight seals by caulking the poly sheeting around the perimeter. Also apply caulk between electrical boxes and the poly and all seams between the sheets. Blow the loose-fill insulation into the attic after a complete installation of the ceiling drywall.
When insulating the garage, consider the roof condition. There’s no need to add insulation on a leaky roof as it will cause trouble sooner or later. Get a new one and embark on insulation. Remember to insulate the garage door as it could be a weak spot if it takes up big space. Luckily, most steel doors for the garage have foam insulation to protect the space from external elements. If there’s no HVAC system in the garage, then it is important to insulate the attic above to improve comfort.
Leaky doors can be the cause of drafts inside the garage, which increased the cost of heating and cooling. Eliminate the problem by sealing out the openings through weather stripping. Nail the weather strips against the door to form a tight seal. If the door seals are already installed, ensure they are in good shape and fully functional.
Install Skirting Board
The concrete floors on your garage don’t have to be dull when you could make them more attractive with skirting boards. For successful outcomes, have the concrete floor cleaned before applying fresh paint and skirt boards on top. Vacuum the dirt and scrape off the dirt beforehand. Next, repair all cracks and crevices on the floor to achieve even painting and skirting. Think about the colour and design that suits your garage style. Skirting boards create a beautiful transition between the wall and the floors. Attach them to the plasterboard wall using nails and glue.
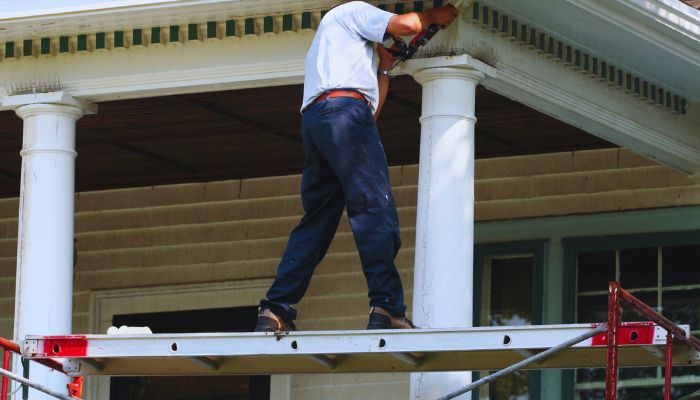
While garage renovations are perfect property ideas, they are not always easy and you need the expertise of experienced professionals to accomplish the tasks. Garage conversion and remodel specialists will help you to transform the space from cold to warm homely addition. They help with the structure as well as the finishing part to achieve a stylish and comfy feel. Talk to the experts, whether you need a budget garage renovation or a fully functional garage. You will also get a second opinion on any construction project you might be planning next.
How To Maintain Weatherboards On A Budget Maintaining weatherboards is a crucial aspect of homeownership, especially for those who value [...Read More]
Cost Effective Weatherboard Maintenance In the realm of Australian homes, weatherboard cladding stands out not just for its aesthetic appeal [...Read More]